
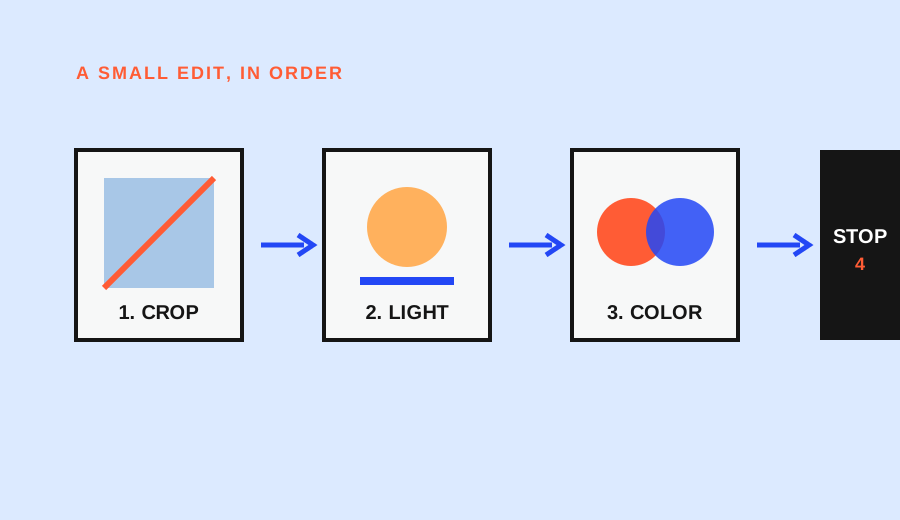
Beginner editing often becomes a search for the perfect slider. A more reliable approach is to edit in a short order, solve one visible problem at a time, and stop when the stated problem is solved. The goal is not to make every photo dramatic. It is to make the image clearer while preserving a connection to the original scene.
This five-minute workflow uses four passes: crop, light, color, and comparison. It works as a concept in many editors. The names and availability of individual tools vary by app and device, so the current help page for the editor you use remains the source of truth.
Pass one: crop for the actual subject
Crop before applying a style effect. Look at the frame edges and decide whether they support the subject. Remove an accidental edge, straighten a distracting horizon, or choose a ratio that matches the intended destination.
Do not crop simply because a tighter frame feels more dramatic. Ask what the crop changes:
- Does it remove a competing bright shape?
- Does it keep enough space in the direction the subject faces or moves?
- Does it preserve the subject’s important edges?
- Does it fit the place where the photo will be shared or printed?
Google Photos, for example, provides crop, rotate, straighten, perspective, and aspect-ratio tools, but feature availability varies across devices and platforms. Make the crop reversible when the editor allows it, and keep the original available.
Pass two: solve the main light problem
After the frame is clear, identify the largest tonal problem. Is the subject too dark? Is a bright area distracting? Is the whole frame flat? Choose the control that addresses that problem rather than moving several sliders together.
For an overall brightness problem, use the editor’s brightness or exposure control. For a bright window or pale sky that competes with the subject, look for a highlights control if the editor provides one. For dark areas that hide important detail, a shadows control may be more appropriate. These names are not interchangeable across apps, but the reasoning is stable: match the tool to the visible region.
Make a small change, then compare with the starting image. A stronger adjustment is not automatically better. If the subject becomes readable and the image still looks plausible, move to the next pass.
Pass three: make one restrained color decision
Color adjustments are easier after framing and light are reasonably settled. Start by asking whether the image has a color problem or whether it simply has a mood you prefer. Those are different decisions.
If indoor light makes a neutral surface look strongly yellow or blue, a white-balance or warmth control may help. If the colors are already believable but the image feels too intense, reduce saturation rather than adding a stronger filter. If the photo is meant to feel stylized, apply the style after the basic problem is solved and keep the intensity low enough that the subject remains readable.
Do not use color to hide a composition problem. A filter cannot remove a distracting object from the edge or restore an important subject that was cropped away.
Pass four: compare and stop
The most important editing tool may be the comparison with the original. Google Photos documents a press-and-hold comparison for checking edits, and its editors include undo or revert behavior. Use that habit even when your app uses different controls.
Ask four questions:
- Is the intended subject easier to read?
- Did the crop remove a problem or create a new one?
- Are the brightest and darkest important areas still believable?
- Did the color change support the scene, or merely make it louder?
If the answer is satisfactory, stop. Continuing to edit because a slider is available is how a short correction becomes an unrecognizable image.
A completed five-minute example
Imagine a daylight photo of a person near a bright window. The subject is slightly off-center, the window occupies too much of the right edge, and the face is darker than intended.
- Crop: remove a little empty edge while keeping space in the direction the person faces.
- Light: raise the overall exposure slightly or lift the relevant shadow area; check that the window does not become a blank patch.
- Color: correct a visible indoor color cast only if neutral areas look wrong.
- Compare: hold the edited image beside the original. Stop when the face is readable and the window still explains the setting.
Notice what the workflow does not include: a long list of filters, a preset recommendation, or a claim that one adjustment works for every file. The result is judged against the problem named at the start.
Keep the original and the decision visible
When an editor offers “Save” and “Save as copy,” understand the difference before choosing. Google Photos notes that saving in place may preserve later adjustment behavior, while saving a copy creates a separate edited file. The exact behavior differs by app, so check the current documentation.
For your own library, record a short note when the edit matters: “cropped for portrait share,” “lifted face shadow,” or “corrected indoor cast.” The note turns a vague editing session into a repeatable decision.
A good beginner edit is not the one with the most changes. It is the one where the crop, light, and color choices each have a reason—and where the original still gives you a trustworthy comparison.
What not to repair with editing
Editing cannot reliably recover every capture problem. A crop can remove a distraction, but it cannot restore an important subject that was never included. A brightness adjustment can reveal some shadow detail, but it cannot guarantee detail that was not recorded. A filter can change mood, but it cannot make a distracting background stop competing with the subject.
When the edit keeps getting stronger without solving the original problem, return to the capture decision. The next useful action may be a different viewpoint, a new exposure choice, or a clearer focus target. That is not a failure of editing; it is information about where the problem began.
Research sources
Sources
- Edit your photos — Edit your photos
- Photography for beginners: master the basics — Photography for beginners: master the basics
- Edit a photo or video on your Pixel phone or tablet — Edit a photo or video on your Pixel phone or tablet
- How to take a good photo: Photo guide — How to take a good photo: Photo guide