
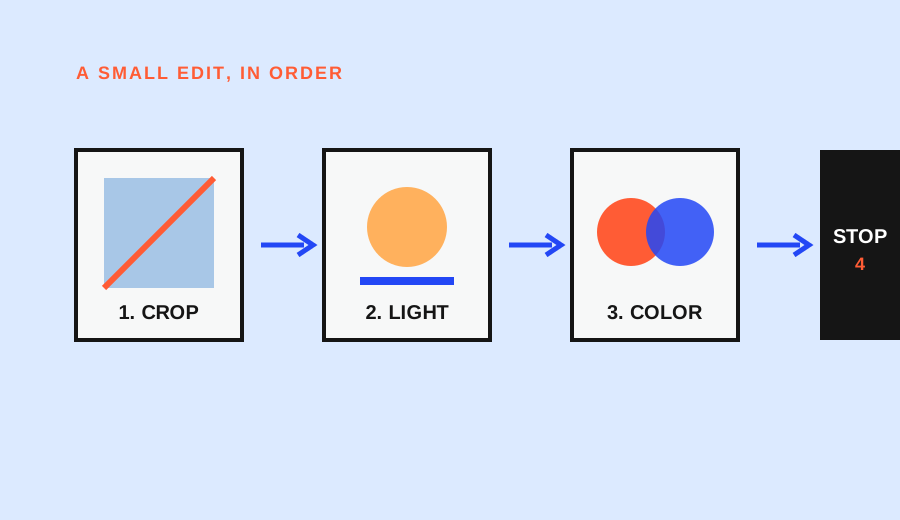
Crop and filter are different kinds of decisions. A crop changes what the viewer is allowed to see. A filter or look changes how the visible content is treated. If the problem is a distracting edge, too much empty space, or a weak subject position, a filter cannot solve it. If the framing is already clear but the image feels flat or too warm, cropping will not solve that either.
The practical default is: settle the frame first, then adjust the look. Keep the original visible, make reversible changes, and compare the result at the same size. Google Photos documents crop, filters, comparison with the original, undo or revert, and save or save-as-copy options, although exact tools vary by device and app.
What cropping actually changes
Cropping removes part of the original frame and may change the aspect ratio. That can make the subject larger, remove an accidental object at the edge, or shift attention away from empty space. It can also remove context that the photograph needs. A crop is therefore a composition decision, not just a cleanup button.
Imagine a portrait with a bright sign at the far edge. If the sign competes with the face, a tighter crop may solve the problem immediately. If the sign explains where the person is, removing it may weaken the story. Before cropping, identify the object that must remain and the object that is merely distracting.
Cropping also changes how lines meet the edges of the frame. A road, horizon, or doorway may become more dominant after the crop. Check those lines again instead of judging only whether the subject looks larger.
What a filter or look actually changes
A filter can alter color, contrast, brightness, saturation, or a broader visual style. The filter does not know which object is the subject; it applies a treatment according to the app’s design. A strong look can make a scene feel warmer, cooler, darker, or more graphic, but it can also hide a framing problem by making the result feel more dramatic.
Use a filter first only when the visual treatment is the question. For example, if you are deciding whether a low-contrast scene should feel soft or punchy, a light look can help you compare moods before you commit to detailed adjustments. Keep the strength low enough that you can still see skin tones, highlights, shadows, and edge distractions.
Do not assume that a filter restores detail. If the original subject is blurred, clipped, or out of focus, a style adjustment changes appearance but does not recreate the missing information.
Problem-to-tool matrix
| What looks wrong | First tool | Why | Verify with |
|---|---|---|---|
| A bright object pulls attention at the edge | Crop | Remove or reduce the competing area | The subject is easier to find |
| The subject is too small for the intended use | Crop | Change scale and surrounding space | The subject remains readable without losing context |
| The frame is balanced but too cool | Light filter or temperature control | Change the visual treatment | Neutral areas and skin tones stay believable |
| Contrast feels flat after framing is settled | Contrast or a restrained look | Improve separation between tones | Shadow detail and highlights remain visible |
| The photograph tells the wrong story after cropping | Undo crop and reassess | The problem is the selected boundary | The context supports the subject again |
| The image is out of focus | Neither tool first | Editing cannot replace a missing sharp edge | Recheck the original capture |
This is a decision matrix, not a required app sequence. If your editor combines crop and filter in one screen, still think of them as separate decisions.
The two-pass workflow
Pass one: boundaries. Open the original and make a copy if your app supports that option. Crop only enough to solve the stated framing problem. Check the subject, the edges, the horizon, and the aspect ratio required by the final use. Save or export a version that you can compare with the original.
Pass two: appearance. Apply a restrained filter or manual tonal adjustment to the cropped version. Compare it with the original and with the unfiltered crop. Ask whether the treatment improves the subject or merely makes the image louder.
This separation makes the edit easier to explain. “The crop removed a bright edge; the filter added a cooler mood” is more useful than “I tried presets until it looked good.”
When filter first can be reasonable
There are cases where the look is the question. If you are deciding between a natural color treatment and a monochrome treatment, a quick low-strength preview can reveal which mood fits the subject. If the final output has a known color requirement, a filter preview may also show whether the photograph can support that treatment.
Even then, keep the original and avoid letting the preview decide the crop for you. A dark or high-contrast look can make empty space seem intentional, while a bright look can make an edge distraction easier to notice. Return to the neutral version before making the framing decision.
Compare without fooling yourself
Many editors provide a press-and-hold comparison, an undo button, or a revert command. Use it. View the original, the crop-only version, and the final look at the same zoom level. Check the corners as well as the center.
If the editor saves over the original, export a copy before continuing. Google Photos distinguishes saving an edited result from saving a copy on supported workflows; other apps use different language. The principle is the same: preserve a version that lets you go back.
For a fair comparison, do not judge a cropped image zoomed in while viewing the original fit to screen. Match the display size and ask a specific question: Is the subject easier to find? Are the colors more believable? Is the edge still distracting?
A practical choice rule
Choose crop first when the photograph’s boundaries, subject scale, or edge distractions are the problem. Choose a filter or look first when framing is already working and the remaining question is mood or tonal treatment. If you are unsure, make a crop-only copy, compare it with the original, and postpone the filter until the composition is settled.
The best beginner edit is not the most dramatic one. It is the one whose purpose you can name, compare, and undo.
Research sources
Sources
- Edit your photos — Google Photos Help
- Edit your photos on your Pixel phone or tablet — Google Photos Help
- Photography for beginners: master the basics — Adobe
- Photographic guide for field researchers — UK Government