
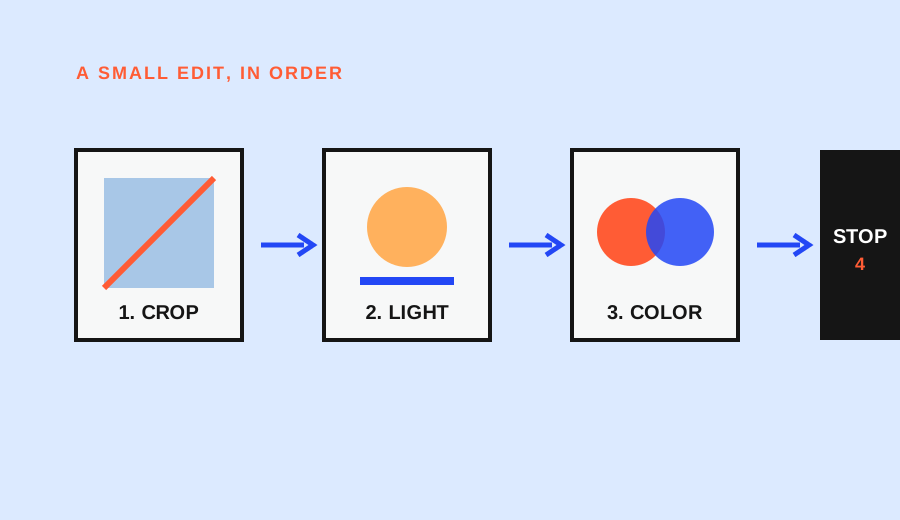
When an edit looks wrong, the slider is often not the real problem. The problem is that the wrong tonal region is being changed. A photograph can be too dark overall, too flat, too bright in the sky, or too heavy in the shadows. Those symptoms need different first controls.
Use this mapping before moving anything:
| Visible problem | First control | Stop check |
|---|---|---|
| The whole image is too light or dark | Brightness or Exposure | The main subject is readable without losing the scene |
| Light and dark areas feel too similar | Contrast | Separation improves without brittle highlights or blocked shadows |
| Sky or window is too bright | Highlights | Texture returns in the light region, when it was captured |
| Dark areas hide useful detail | Shadows | The subject becomes readable without flattening everything |
Adobe’s current Lightroom help describes these controls by tonal region. The names and exact ranges vary between apps, but the job of each control is a useful mental model.
Brightness or Exposure changes the whole image
Exposure or Brightness is the first control when the entire image is too light or too dark. Adobe describes Exposure as controlling overall brightness. Move it gradually and inspect both the subject and the background.
Imagine an indoor portrait beside a bright window. If the whole frame is dark, raising overall brightness may make the face readable, but the window may lose texture. If the face is already readable and only the window is too bright, overall brightness is the wrong first tool. Move to Highlights instead.
The stop check is simple: can you identify the main subject without making the entire frame look washed out or heavy? If not, return to the original and diagnose the region rather than pushing the same slider farther.
Contrast changes separation
Contrast changes the difference between light and dark tones. Increasing it can make a flat daylight frame feel more separated. Decreasing it can make a harsh scene gentler. It affects the relationship across the image, not one isolated object.
Contrast is easy to overuse because the first movement can look dramatic. Check a face, a pale wall, and the darkest area together. If the highlights lose texture or the shadows become empty, the contrast change has exceeded the purpose of the edit.
Use contrast after the overall brightness is close. Otherwise, you may use contrast to compensate for a brightness problem and then need to undo both decisions.
Highlights target the lighter regions
Highlights affect the brighter parts of the image. Adobe documents lowering Highlights to darken light areas and recover detail when that detail exists in the original capture. The phrase “when it exists” is important: a slider cannot recreate texture that was clipped before editing.
Use Highlights for a bright window, pale sky, white shirt, or reflective surface that is drawing attention. Compare the light region at the same zoom. If the sky becomes gray while the subject still looks wrong, stop and return to the actual problem.
Highlights are not the same as overall brightness. Lowering them can protect light detail while leaving the rest of the frame relatively stable.
Shadows target the darker regions
Shadows affect darker parts of the image. Raising them can reveal a face in shade, a dark doorway, or texture in a black object—if the original file contains usable information. Lowering them can make a scene more graphic, but it may remove detail that helps the viewer understand the subject.
Adobe’s guidance also warns that tonal adjustments can affect the wider image. A large shadow lift may make the photograph flatter or reveal noise in underexposed areas. Use the smallest change that answers the visible problem.
The stop check is not “Can I see everything?” It is “Can I see the important dark detail without destroying the intended depth?”
A filled diagnosis example
Suppose a room photo has a bright window, a dim chair, and low overall contrast.
- If the chair and window are both too dark, begin with Brightness or Exposure and check the chair.
- If the chair is readable but the window is blank white, lower Highlights and check the window edge.
- If the chair is still too dark, raise Shadows gradually and inspect whether the room becomes flat.
- If the whole scene now feels dull, use a small Contrast adjustment and compare with the original.
This order is not a law. It simply prevents one slider from being asked to solve four different symptoms.
Compare at the same size
Keep the original visible. Google Photos documents comparing an edited image with the original, undoing changes, and saving a copy on supported workflows. Other editors use different controls, but the comparison principle is portable.
View the original and edit at the same zoom. Check the intended region first, then the corners and skin tones. If the edit only looks better when enlarged or viewed in isolation, it may not be solving the actual problem.
The right slider is the one whose visible effect matches the reason you opened the editor. Brightness handles the whole frame, contrast handles separation, highlights handle light regions, and shadows handle dark regions. Name the symptom, move one control, compare, and stop when the target is readable.
When an image needs two controls, make the first change small enough that you can still identify its effect. For example, restore a bright window with Highlights before lifting a shaded chair with Shadows. Then compare the result with the neutral original. This keeps the edit explainable and makes it easier to undo the step that caused a new problem.
If the image improves only after every slider moves, pause and return to the original. A large stack of corrections often hides the first diagnosis. The cleaner workflow is to name the most visible problem, use the narrowest relevant control, and then decide whether a second problem actually remains.
Research sources
Sources
- How to adjust Light in an image — Adobe
- Adjust photo brightness and contrast — Adobe
- Edit your photos — Google Photos Help
- Photography for beginners: master the basics — Adobe