
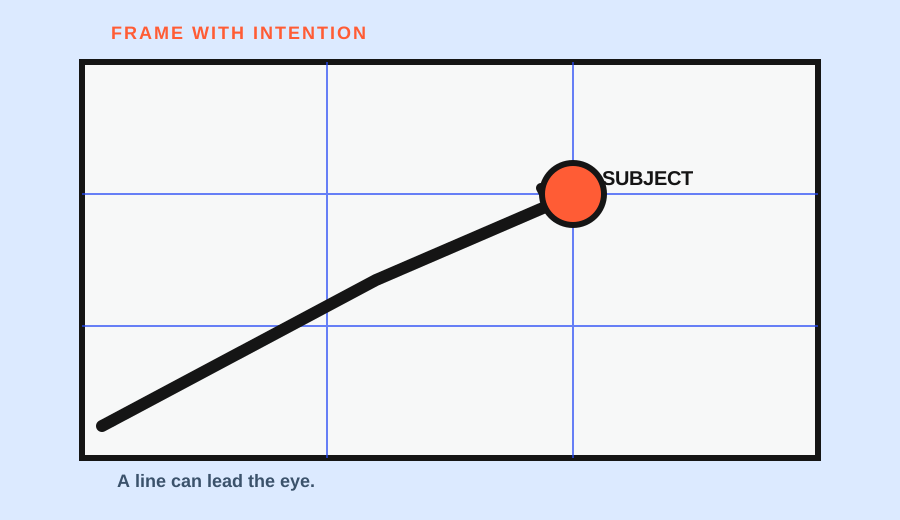
Many beginner composition tips begin with a named rule: use the rule of thirds, look for leading lines, or leave negative space. Those ideas can help, but they are easier to use after you know what the frame is trying to say. Before changing camera settings, read the scene with four questions: What is the subject? What competes with it? Where should the frame end? Would a different viewpoint make the relationship clearer?
This approach works with a phone or a dedicated camera because it is about decisions inside the frame, not a particular control layout.
1. Name the subject
The subject is the thing, person, pattern, or relationship you want the viewer to notice first. It does not have to be dramatic. A cup on a table, a person beside a window, or a single bright shape can all be subjects.
Use a short phrase rather than a vague label. “The person waiting near the window” is more useful than “the room.” “The red cup against the pale wall” is more useful than “the kitchen.” The phrase tells you what must remain readable when you begin removing distractions.
If you cannot name the subject, the frame may be trying to hold too many ideas. You do not always need to remove everything else, but you do need to decide what has priority.
2. Find what competes with it
Look at the background and the edges before pressing the shutter. Bright spots, strong lines, signs, high-contrast objects, and cut-off shapes can pull attention away from the subject. Nikon’s composition guidance emphasizes paying attention to subject placement, background, and what is included or left out of the image.
Do not ask whether an object is “beautiful.” Ask whether it helps the subject. A bright window may establish the setting, but it may also become the brightest shape in the frame. A chair may add context, but a partial chair at the edge can look accidental. A line may guide the eye, but it may also point outside the frame.
Make one change at a time:
- Move the camera left or right.
- Raise or lower the viewpoint.
- Ask the subject to move, when appropriate.
- Wait for a background distraction to pass.
- Tighten the frame if the extra space has no job.
The goal is not to make every frame empty. The goal is to make the included elements support the subject.
3. Check the frame edges
The edges of a photograph are decisions, not leftovers. Scan all four sides for objects that enter the frame unexpectedly, important parts that are cut off, or lines that stop in awkward places.
This is especially important when photographing people. Check whether a pole, branch, or bright edge appears to grow out of the head. Check whether hands, feet, or furniture are cut at a distracting point. A small shift in viewpoint can separate the subject from the background without changing the subject itself.
For objects, check the relationship between the object and the edge. A little room can make the object feel stable. Too little room can make it feel accidentally trapped. Too much room can weaken the subject unless that space creates direction, scale, or mood.
4. Try two viewpoints
Before changing aperture, ISO, or a filter, take two mental or actual frames from different positions. The first can be your original viewpoint. The second should change one relationship: camera height, distance, angle, or orientation.
Suppose the subject is a person standing beside a window. From straight on, the window may dominate the frame. From a slight side angle, the person may separate from the brightest area and the window can become context. The camera settings might remain identical; the composition changes because the relationships change.
This is why “move two steps” can be a useful beginner instruction. It creates a visible comparison. You do not need to know in advance which frame will be better. You need to make the difference large enough to inspect.
A filled scene-scan example
Imagine a table with a red cup, a bright window, a chair edge, and several small objects.
- Subject: the red cup.
- Competition: the bright window and a high-contrast chair edge.
- Frame decision: keep enough table to show the cup is resting on it, but remove the unrelated objects.
- Viewpoint change: move slightly lower and to the side so the cup separates from the window.
- Verification: look at the thumbnail. The cup should be the first colored shape you notice, and the window should explain the light rather than become the subject.
This is not a universal composition recipe. It is a worked decision. Another scene might need more background because the location is the subject.
What to do when the scene has multiple subjects
Sometimes the relationship between subjects is the point. Two people, a person and a doorway, or a small object in a large space may need to remain together. In that case, name the relationship rather than forcing one object to be the only subject: “the person framed by the doorway” or “the small figure in the large room.”
Then apply the same four questions. What supports the relationship? What competes with it? Where should the frame end? Which viewpoint makes the relationship easiest to read?
Composition is not a test of whether you remembered enough rules. It is a way to make the intended relationship visible. Start by naming the subject, remove or reposition what competes with it, check the edges, and compare two viewpoints before reaching for a new setting.
When the first frame is still unclear
If two viewpoints both seem confusing, simplify the question rather than adding more rules. Make a tighter frame and ask whether the subject becomes easier to name. Then make a wider frame and ask what context was lost. The comparison often reveals whether the problem is too much information, too little context, or a background that is competing at the wrong brightness.
You can also make a deliberately plain frame. A plain frame is useful when it gives you a baseline: subject, background, and edges are easy to identify. After that, add one relationship back—a doorway, a line, or a patch of open space—and decide whether it helps. Composition improves through these visible choices, not through collecting more labels.
Research sources
Sources
- Photography for beginners: master the basics — Photography for beginners: master the basics
- 5 Easy Composition Guidelines — 5 Easy Composition Guidelines
- How to take a good photo: Photo guide — How to take a good photo: Photo guide
- Camera settings 101: Getting to know the basics — Camera settings 101: Getting to know the basics