
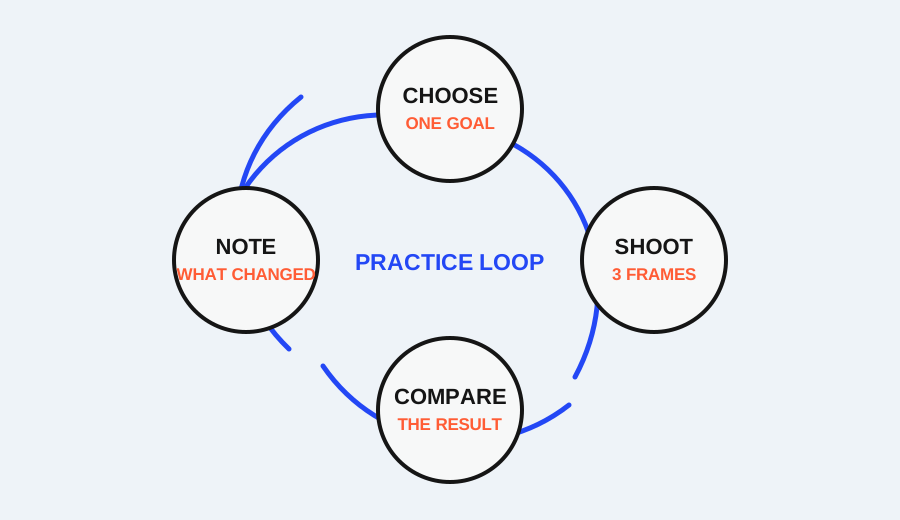
This 30-minute exercise is built around one question: what changes when the same moving subject is photographed with a faster, middle, and slower shutter direction? You do not need a particular camera model or a guaranteed result. You need one scene, a stable starting position, and a way to compare three frames honestly.
The expected pattern is simple: the faster pass is more likely to freeze the movement, the middle pass may show partial blur, and the slower pass gives movement more time to appear. Nikon’s shutter-speed guidance supports this freeze-versus-blur relationship, while also warning that the useful choice depends on the action and the scene.
Set the same scene three times
Choose a subject that can move repeatedly along a simple path: a person walking across a room, a swinging object, or another moving subject. Keep the camera position, approximate framing, and lighting as consistent as possible. Mark the subject’s path with a doorway, chair, or floor line so the three passes are comparable.
Before starting, decide what detail you will inspect. Use a hand, foot, wheel, wing, water edge, or another moving edge. Also choose one stationary background detail. The moving detail tells you how motion was rendered; the stationary detail helps you notice camera movement.
Pass 1: Try to freeze the movement
Choose a faster shutter direction than your normal starting point. Ask the subject to repeat the same movement. Inspect the selected hand, foot, or edge. If it looks crisp enough for your purpose, record that result. If it remains blurred, note whether the subject moved too quickly, the camera moved, or the scene was too dark to hold the chosen speed.
The goal is not to find a universal “freeze” number. Nikon explains that a helicopter, a walking person, and a bicycle do not require the same shutter speed. The direction and distance of the movement matter too.
If the frame becomes dark, record which automatic control changed or what you changed next. A faster shutter allows less light, so the camera may open the aperture or raise ISO. Keep that trade-off visible in your notes.
Pass 2: Look for partial blur
Move toward a middle shutter direction and repeat the same path. This frame may show a crisp body with a softer hand, foot, or edge. That partial blur can be useful because it preserves the subject while making the movement readable.
Inspect the stationary background. If the background is clear and only the moving edge softens, the blur is mainly subject movement. If the background also streaks, camera movement may have entered the frame. Stabilize your position before deciding that the middle shutter direction is the problem.
Write one sentence: “The movement is visible because ____.” If you cannot complete it, the frame may be neither clearly frozen nor intentionally blurred. Repeat once with the same direction rather than changing several controls.
Pass 3: Let the movement show
Choose a slower direction and repeat the path. Hold or support the camera as steadily as the scene allows. The moving subject should have more time to register as blur, while a stable background can remain more readable.
This pass is not a failed version of Pass 1. A slow shutter can be the intended choice for water, passing lights, or a person turning through a space. The check is whether the blur communicates movement and whether the background supports the result.
If everything is streaked, the camera moved. If only the subject is soft, the camera may have stayed stable. Both outcomes are useful because they show why camera movement and subject movement should be diagnosed separately.
What changed besides shutter speed?
Review the camera or phone metadata if available. Did aperture change? Did ISO change? Did the device switch into a motion mode or computational capture? Did the light change while the subject repeated the path?
The exercise is about shutter speed, but exposure controls are connected. Nikon places shutter speed alongside aperture and ISO in the exposure triangle. A faster or slower shutter can force the device to make another adjustment, and that adjustment may change brightness, noise, or depth of field.
Record those changes without treating them as errors. The useful question is: which visible difference came from shutter direction, and which came from the exposure adjustment needed to support it?
The three-frame comparison card
Fill in one line for each frame:
| Frame | Intended result | What the moving detail did | What the background did | Next adjustment |
|---|---|---|---|---|
| Fast | Freeze | |||
| Middle | Show some movement | |||
| Slow | Deliberate blur |
Use the same display size for all three images. Check the selected moving detail first, then the stationary background. If the fast frame is dark, the next adjustment may be aperture or ISO. If the slow frame is camera-shaken, support or stabilize the camera. If the subject is still too sharp in the slow frame, the movement may be too small or the exposure too short for that scene.
Stop after the comparison is clear
Do not keep changing settings after you can explain the three frames. The goal is not to collect the most dramatic blur. It is to connect a shutter direction with a visible result and a remaining trade-off.
At the end of 30 minutes, you should be able to say: “The fast direction protected the moving edge but cost light; the middle direction showed partial movement; the slow direction made the movement obvious, and stability determined whether the background stayed readable.” That explanation is the skill this exercise is designed to build.
Research sources
Sources
- Understanding Shutter Speed: Capturing Time in Photography — Nikon USA
- Capturing or Freezing Motion in Photos — Nikon USA
- Nikon School: Shooting Action — Nikon USA
- Photography for beginners: master the basics — Adobe